How To Crop Video In Premiere
 The Many Different Ways To Use The Crop Effect In Premiere Pro
How to Crop a Video in Adobe Premiere Pro (Tutorial with Images)

In this step by step guide, we’ll show you how to efficiently use Adobe Premiere Pro CC to crop your videos, allowing you to create stunning cinematic effects with a few simple clicks. Whether it’s replacing backgrounds on vertically shot video or creating a split screen layout, cropping is an essential skill with a plethora of uses for any editor.
Part 1: How to Crop Videos & Photos in Premiere Pro
In case you’re wondering if you’ll need to learn a whole new way of cropping for video and photos, you’ll be pleased to discover that cropping works the same for both. Follow the steps below to get started!
Step 1: Import footage into Premiere Pro
Begin by importing your footage into Premiere by going to file, import file, or hitting COMMAND + I on the keyboard.
Select your clips from the browser window, and they will import into your project panel.
Drag your clip to the composition button at the bottom of the project panel to create a new composition based on the clip settings.
Now, make sure you are on the effects screen by selecting ‘Effects’ from the top panel.
Navigate to the Effects Menu, select the Video Effects > Transform > Crop.
A far simpler way is to use the search function at the top to find the effect as shown below.
There are two ways to add the effect to a clip. If the clip in question is selected in the timeline, all you need to do is double-click on the Crop effect to add it. Alternatively, you can drag and drop the Crop effect on to the clip you wish to edit.
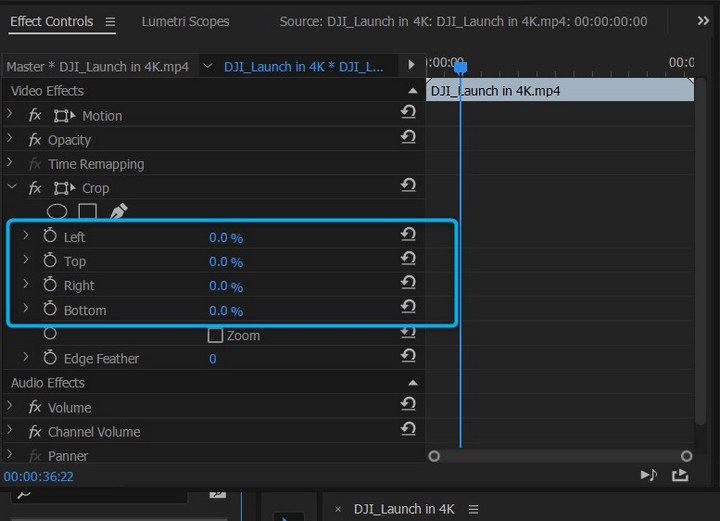
Once the clip has the effect added, you will see the Crop function appear in the Effects Controls panel of the clip you have selected. You can crop the image in 3 ways: using percentages, the slider, or the crop handles. You can crop the shot from the bottom, top, left, and right.
Using percentages might take a bit of getting used to, but it is helpful when you want to create a specific technical layout.
Step 1: Calculate the percentages for each cropped clip
For example, you may want to create a split screen where the screen is equally divided between two clips, in which case you can simply crop the image by 50%.
Step 2: Adjust the percentage in the crop settings
Add your calculated crop settings in Premiere Pro.
If you prefer you can also use the slider to adjust the crop of a clip.
Step 1: Show the slider settings
Alongside each of the crop directions in the Effects Control Panel, there is a small drop-down arrow. Clicking on this arrow will reveal a slider.
Step 2: Manually adjust the crop
The slider gives you more manual control over the crop percentage. Use the slider to increase or decrease the crop from 0 to 100%.
Put your player head to the clip you want to crop, and then select the clip.
Step 2: Select the Crop Effect
Select the crop effect in the Effects Control Panel. This action will add handles to the clip in the Video Preview Window so you can manually crop your media.
If you have cropped your video to the right size, but are not happy with the area of footage you have cropped it to, you can manually move the crop area by bringing up the crop handles and dragging the entire crop box around the video preview screen.
Once you have cropped your media, you can position it on the screen as you wish using the Position controls in the Effects Control Panel. The position can be controlled using the same three methods as the crop function. Play around with the controls to find the best method for you.
Now you know how to crop and position your video you can easily replicate some stunning split screen videos.
Step 1: Stack clips on separate video tracks
Place your clips in separate video tracks playing simultaneously.
The videos will pile on top of one another in the preview window. When you crop the top one, the next one will appear below it.
Crop and move the videos until they are laid out in a way you are happy with.
If you leave space between your clips, it will automatically display black. (See Vertical Footage Cropping for background options below).
The Cinematic Look
If you want to create a strong cinematic look, with black bars at the top and bottom of the screen, don’t worry you do not have to crop individual video clips.
Step 1: Add an adjustment layer
In the Project Panel, hit the new item button, and select Adjustment Layer > OK.
The adjustment layer should appear in the Project Panel. Here’s what your screen will look like.
Drag the adjustment layer to a free video track above your other videos and extend to cover the duration of your project.
Using the same method as before, add the Crop Effect to the Adjustment Layer. Select the Adjustment Layer in the timeline, and you will see all the same Crop tools in the Effects Control Panel.
Increase the top and bottom crops until you are happy with the look you have created. The Adjustment Layer will affect all of the clips below it in the project timeline.
Occasionally, you might need to edit using footage that has been shot vertically on a mobile phone. When imported, this will display black bars down the left and right side of the video. Using the crop tools and the methods above, you can remove the black bars from the clip, and replace it with something more appealing.
Step 1: Add a colored background by selecting Color Matte
To add a colored background to your cropped video, hit the New Item button at the bottom of the Project Panel and select Color Matte.
Click OK to bring up the color picker.
Choose the color you would like in the background of your video and choose OK. You can name your Color Matte if you wish.
The Color Matte will appear in your Project Panel.
Drag it to the timeline, place on a free video track beneath your video and extend to cover for the entire duration.
You can add images, graphics, and patterns by importing your background using the same method as importing media and placing using the same method as a Color Matte.
Before wrapping up, it’s essential to clarify the difference between cropping your video and changing the aspect ratio.
When you crop a video, you are removing part of the video leaving a blank space where the video has been removed. You would use cropping for stylistic editing choices, such as split screen, or vertically filmed videos, this is what we will be going over in this tutorial.
Aspect Ratio is the size at which your video is exported, keeping the video in full screen. While changing the aspect ratio might crop the video, it also changes the size and shape of the final file. You would use this when you need to export square videos for use on social media.
Cropping can be used in a variety of ways to create beautiful, dynamic video pieces that add an extra layer of professional quality to your work. All editors have their own methods of solving creative problems that arise during the post-production process, and there is no right or wrong way to use the effect.
Instead, you can add it to one of the many tools an editor needs to produce a full range of content styles. Now you have the skills to crop your video in Premiere Pro – be creative and have fun.
Gallery How To Crop Video In Premiere
 Solved How Do I Crop Video In Premiere Cc Adobe Support
 Video Crop The Center Region Video Production Stack Exchange
 5 Creative Things You Can Do With The Crop Tool In Premiere Pro
 Crop A Video To Square In Premiere Pro
 How To Crop A Video In Adobe Premiere Pro Tutorial With
 How To Crop A Video In Adobe Premiere Pro 7 Steps
 Three Creative Ways To Use The Crop Tool In Premiere Pro Cc
 Stuck By Changing Aspect Ratio In Premiere Pro See Easy
 Learn How To Crop A Video For Your Social Media Channels
 How To Make Your Video Look Cinematic In 30 Seconds In Premiere
 Cropping In Premiere Elements
 How To Crop Videos In Adobe Premiere Pro Adobe Education
 Solved Why Is Premiere Pro Cropping My Video Adobe
 How To Make An Instagram Video Crop In Premiere Pro Cc Tutorial
 How To Merge Combine Clips In Adobe Premiere Pro
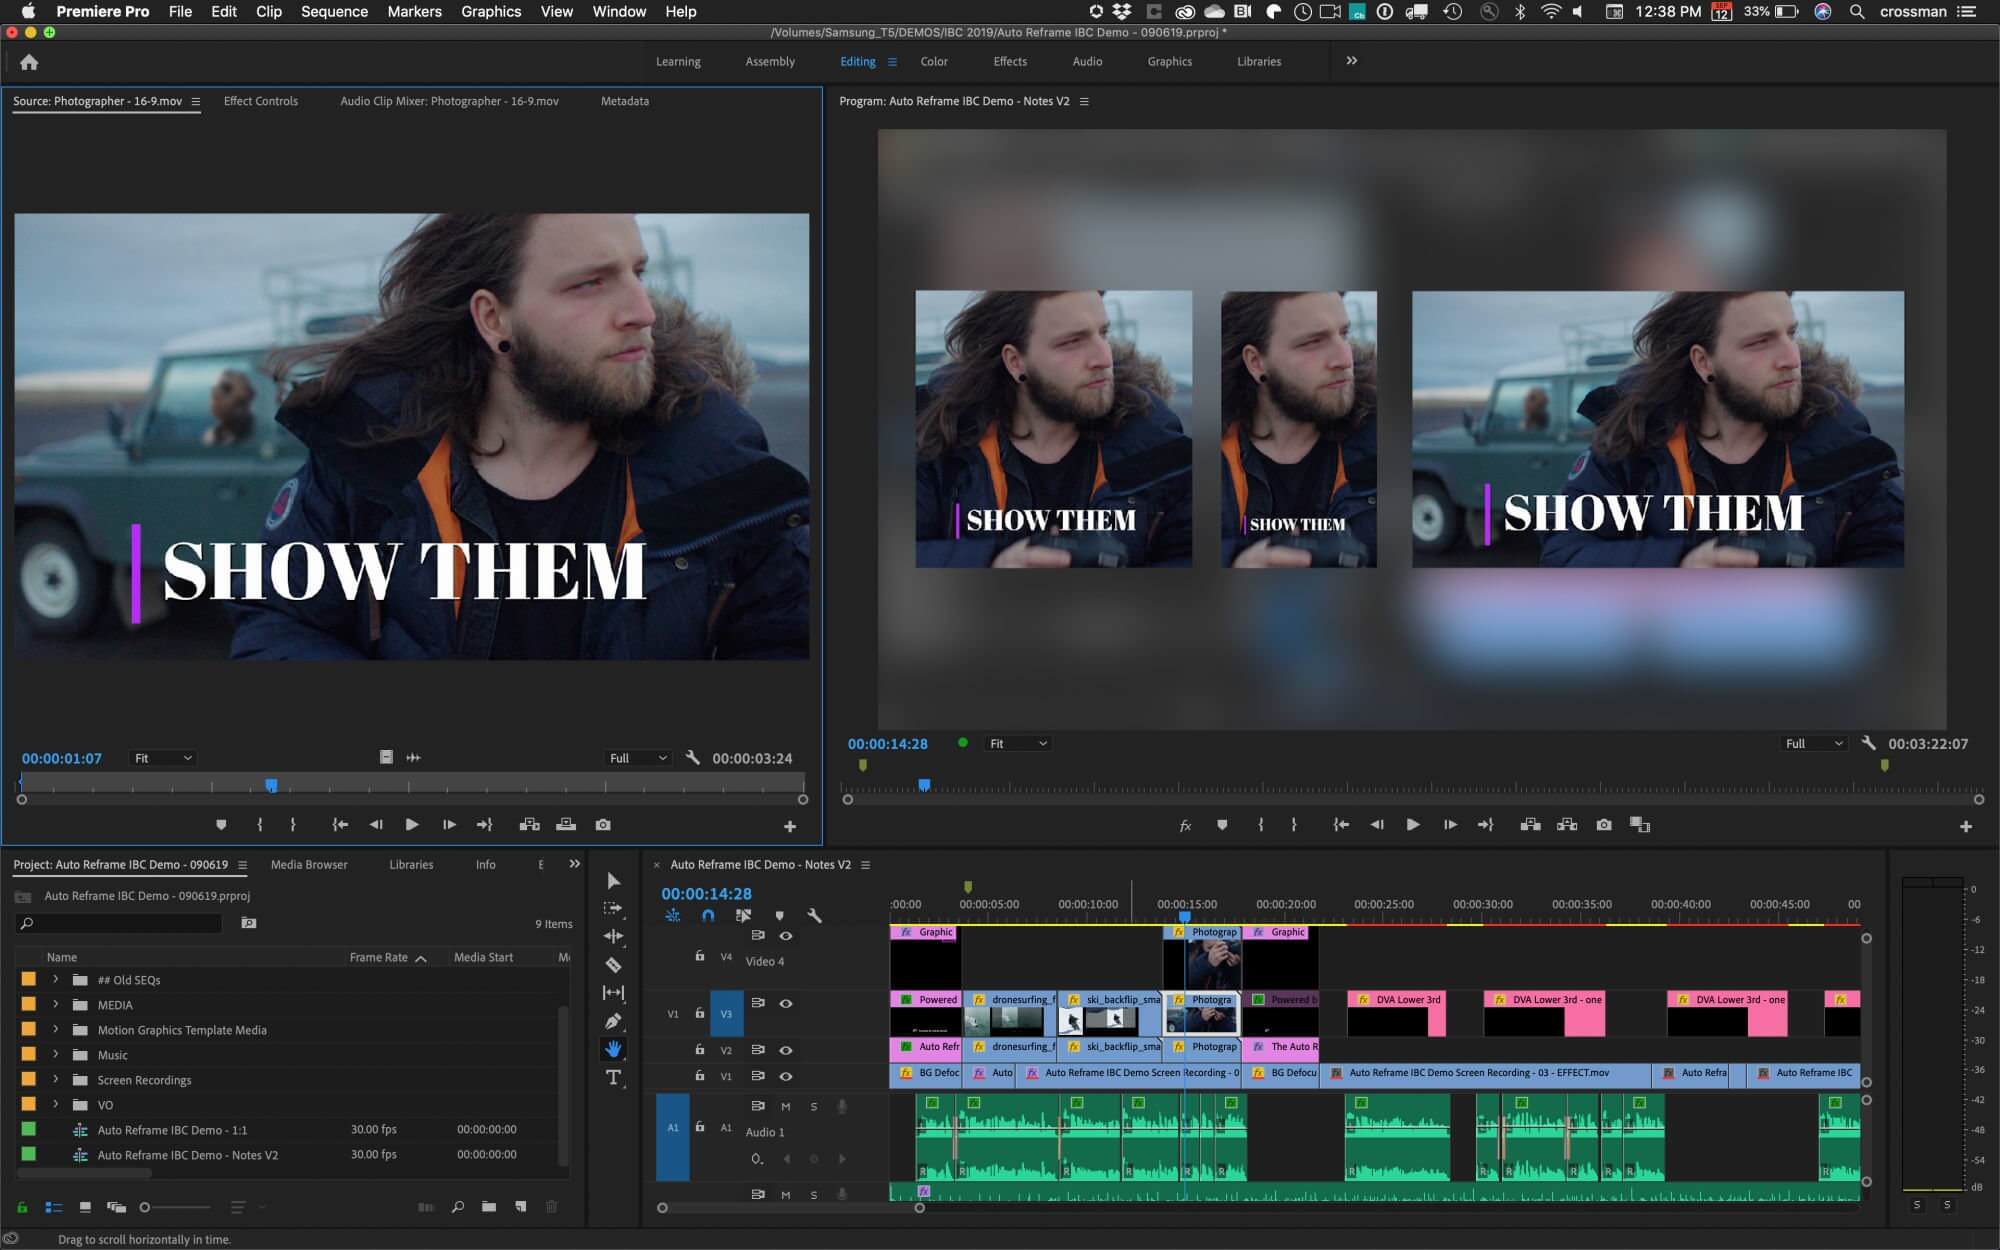 Adobe Announces Auto Reframe Tool For Premiere Pro Techspot
 Crop A Horizontal Video For Vertical Viewing In Premiere
 Adobe Premiere Pro Cc Tutorial Crop Opening Transition
 Mts To Premiere Pro Import Edit Mts Video In Premiere Pro
 Five Hacks To Creating Cinematic Looking Video Without


0 Response to "How To Crop Video In Premiere"
Post a Comment